Step 1: Identify the Water Category (0 to 5 Minutes)
- Locate the source. Supply line, sump failure, foundation seepage, or sewer backup.
- Classify by IICRC S500 category: Category 1 (clean supply water), Category 2 (gray, appliance or seepage), Category 3 (black, sewage or groundwater carrying contaminants).
- If Category 3 is suspected, evacuate the basement immediately and proceed to Step 9. Do not attempt extraction without PPE rated for biohazard contact.
- Note water clarity, odor, and any visible debris. Clear water with no smell suggests Category 1. Cloudy or tinted water with mild odor indicates Category 2. Brown or gray water with sewage odor is Category 3 regardless of visible solids.
- Water that has been standing more than 48 hours automatically reclassifies upward one category due to microbial growth.
Step 2: Shut Down Power and Gas (5 to 10 Minutes)
- At the main breaker panel, switch off all circuits feeding the basement. If the panel is in the basement and water is above 2 inches, do not approach. Call your utility.
- Shut the gas valve at the meter if you smell gas or if water has reached appliance burner level (typically 18 inches off the floor).
- Confirm power is off using a non-contact voltage tester before reentry.
- Unplug all submerged or partially submerged appliances only after confirming the circuit is dead. Do not energize them again until inspected by a licensed electrician.
- Tag the panel with the date and time of shutoff. Belleville Water Restoration technicians require this information at intake.
Step 4: Document Before Touching Anything (20 to 30 Minutes)
- Photograph every wall, every affected item, and the visible waterline. Minimum 30 photos for a finished basement, 15 for unfinished.
- Record a 60-second video panning the full space with audio describing what you see.
- Note the time of discovery and approximate time of onset. Insurance carriers use this for sudden and accidental determination. Our guide to filing a water damage insurance claim covers the exact language adjusters look for.
- Capture wide shots, medium shots, and close-ups of damage points. Adjusters reject single-angle documentation.
- Save weather data for the 72 hours preceding the loss if seepage or backup is suspected. Screenshot the local forecast page for Belleville.
Step 8: Establish the Drying Environment (Hour 12 to Hour 72)
- Target equilibrium: under 60 percent relative humidity, surface moisture content below 16 percent for wood framing, below 1 percent for concrete by weight.
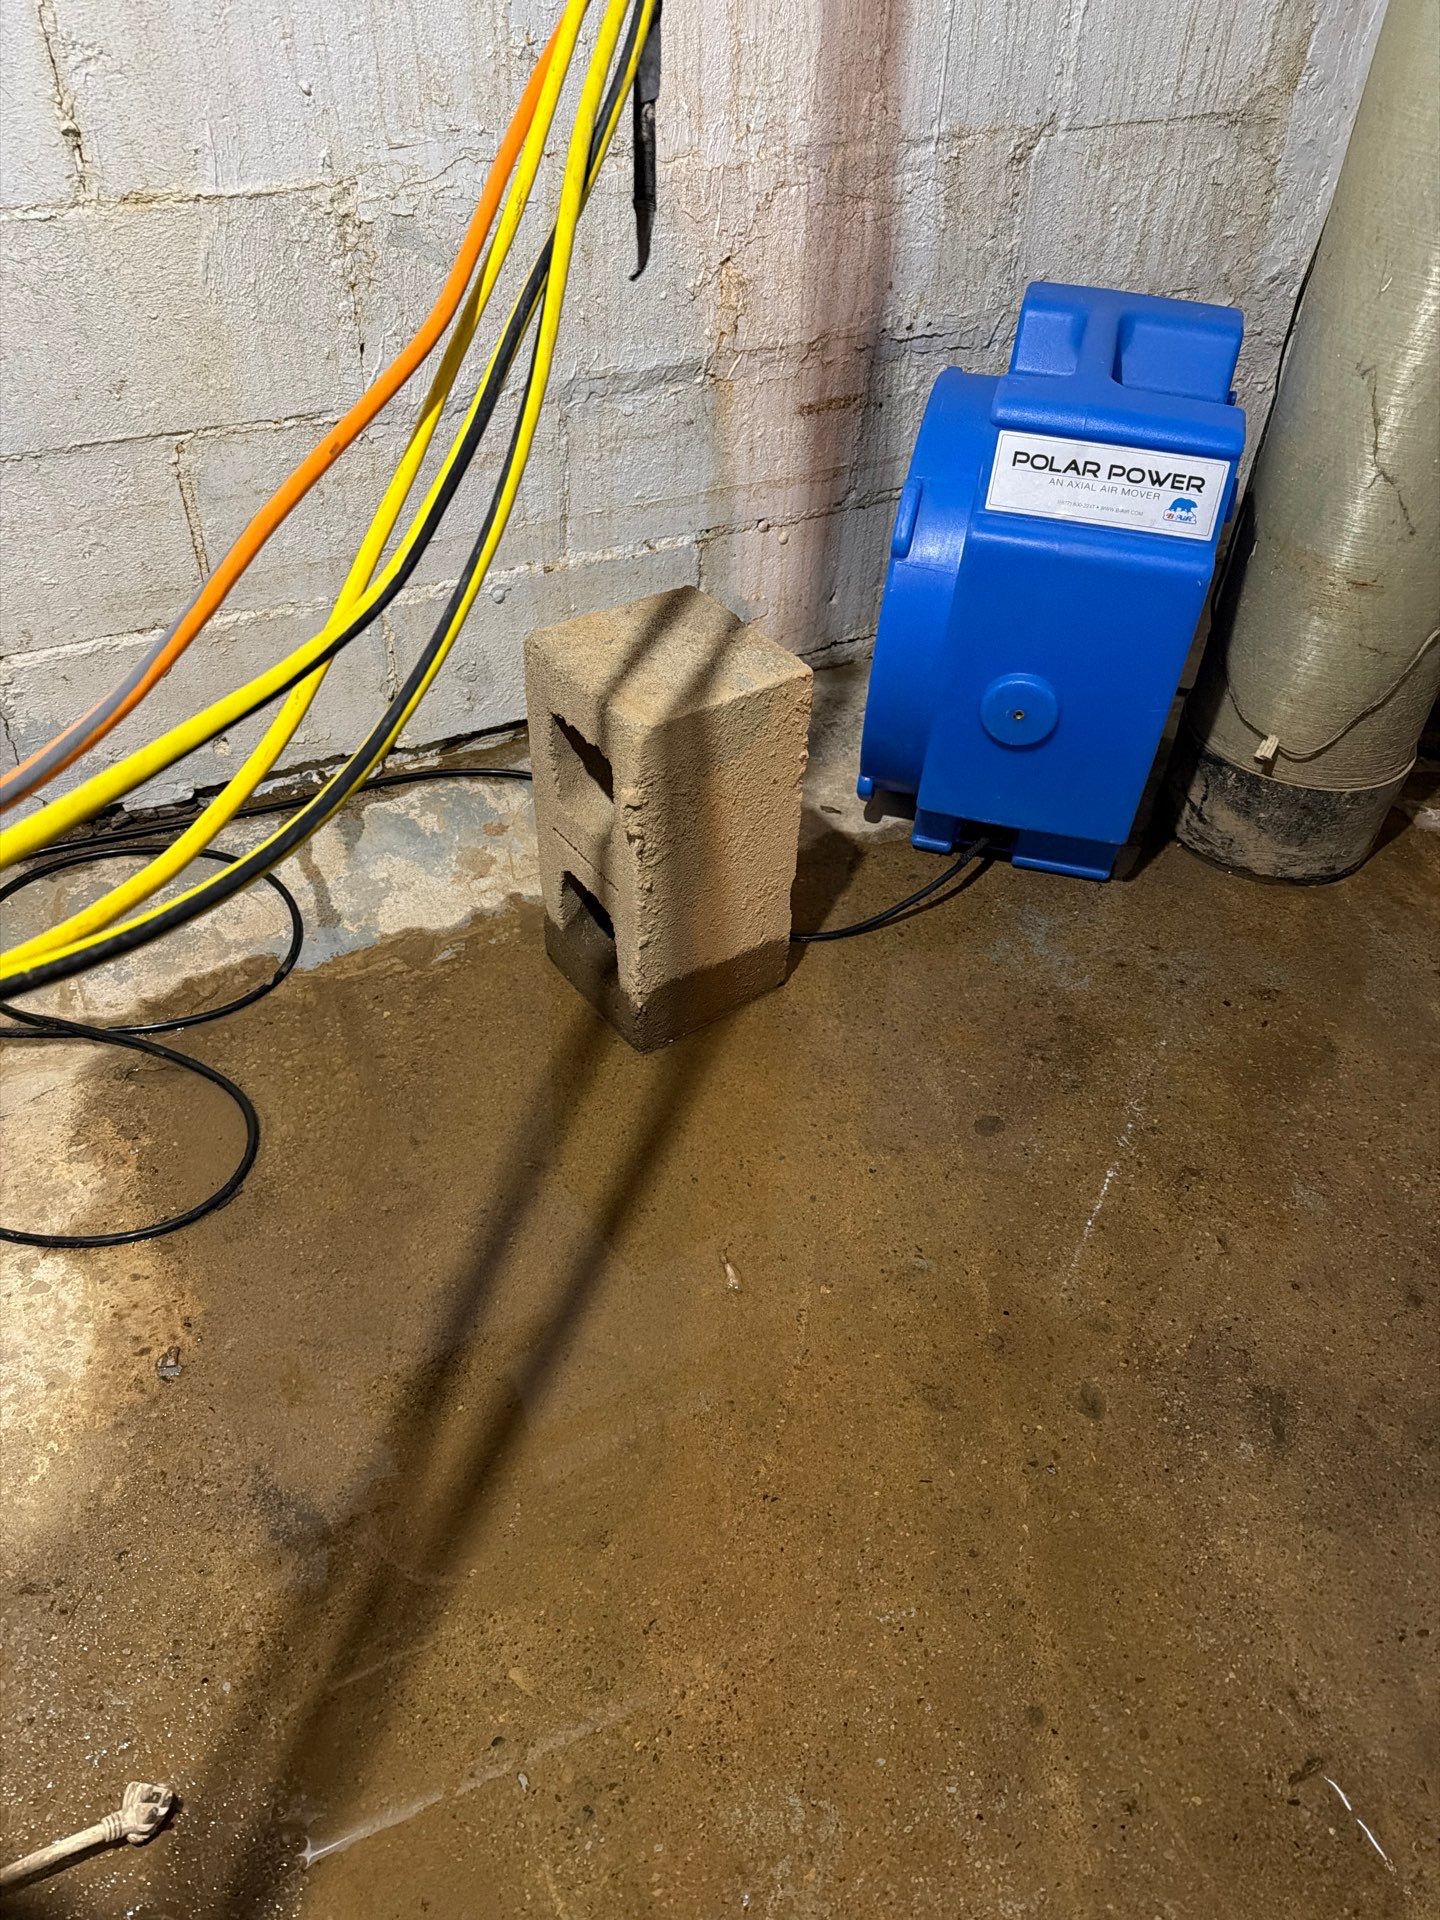
- Air movers: 1 unit per 10 to 16 linear feet of wall, angled at 15 to 45 degrees.
- Dehumidifiers: 1 LGR (low grain refrigerant) per 800 to 1,200 square feet, sized to the affected volume.
- Daily moisture mapping with a penetrating meter. Document readings on a chart for the claim file.
- Seal the affected zone from the rest of the home with 6-mil poly to prevent humid air from migrating into unaffected areas.
- Monitor outside air. If outdoor dew point exceeds 55 degrees, keep the basement closed and rely on dehumidification rather than ventilation.
Step 3: Stop the Source (10 to 20 Minutes)
- For supply line breaks: close the main water shutoff valve, usually located where the service line enters the foundation.
- For sump pump failure: verify the float switch, breaker, and discharge line. A frozen or clogged discharge line in Belleville winters is a common cause.
- For foundation seepage: source control is exterior and not solvable mid-event. Proceed to extraction.
- For washing machine or water heater failure: close the dedicated shutoff valve on the supply line. If no dedicated valve exists, use the main.
- For sewer backup: do not run any water in the home. Stop dishwashers, toilets, showers, and laundry. Every gallon added increases the contaminated volume downstream.
Step 10: Verify Dry Standard and Reconstruct
- Three consecutive days of stable moisture readings at or below target before equipment removal.
- Air quality sample if mold was visible or if drying exceeded 72 hours.
- Reconstruction begins only after dry standard is documented in writing.
- Request a written certificate of completion from the restoration contractor. Lenders and future buyers may request this document.
Step 5: Remove Contents (30 to 90 Minutes)
- Prioritize porous items: upholstered furniture, mattresses, cardboard, books, photographs.
- Elevate non-porous items on blocks at least 4 inches above the wet floor.
- Tag and inventory anything you discard. Photograph serial numbers on electronics for replacement-cost claims.
- Separate items into three piles: salvage, evaluate, dispose. Do not throw anything out until the adjuster has reviewed photos.
- Move salvaged items to a climate-controlled space at 65 to 75 degrees with relative humidity under 50 percent.
Cost and Timeline Reference
- Category 1 loss, 1,000 square feet, no demolition: 2,500 to 5,000 dollars, 3 to 4 days.
- Category 2 loss with partial demolition: 6,000 to 12,000 dollars, 5 to 7 days.
- Category 3 sewage loss with full demolition: 12,000 to 25,000 dollars, 7 to 14 days before reconstruction begins.
- Reconstruction adds 2 to 6 weeks depending on permit timelines in Belleville and material availability.
Typical timeline for a 1,000 square foot basement: extraction 4 to 8 hours, structural drying 3 to 5 days, reconstruction 2 to 6 weeks depending on scope. Belleville Water Restoration maintains 24-hour dispatch for every step above, with technicians certified to IICRC WRT and ASD standards.
Step 7: Remove Unsalvageable Materials (Hour 4 to Hour 12)
- Cut drywall 12 inches above the visible waterline. Standard flood cut on 4-foot panels.
- Remove wet insulation in full. Fiberglass loses R-value permanently once saturated.
- Pull carpet and pad. Pad is almost never salvageable. Carpet may be cleanable if Category 1 and removed within 24 hours.
- Bag and label all debris for adjuster review before disposal.
- Inspect the bottom plate of stud walls. Pressure-treated plates can be dried in place. Standard SPF plates absorbing water more than 48 hours require replacement.
Step 9: Sewage and Category 3 Protocol
- Do not enter without N95 minimum, nitrile gloves, eye protection, and rubber boots.
- All porous materials within the contaminated zone are removed and disposed.
- Antimicrobial application after extraction, before drying, per Category 3 sewage protocol.
- This step is not a DIY procedure. Our sewage cleanup service dispatches within 60 to 90 minutes across Belleville.
- HVAC supply and return registers in the affected zone must be sealed before any air movement begins to prevent contaminant spread.
Step 6: Extract Standing Water (60 to 240 Minutes)
- For depths under 1 inch: wet/dry vac with a minimum 6-gallon capacity. Empty every 4 to 5 minutes.
- For depths 1 to 4 inches: submersible pump rated at minimum 1,500 GPH with discharge routed at least 20 feet from the foundation.
- For depths above 4 inches or any Category 2 or 3 water: stop and call a professional. Truck-mounted extractors pull 100 to 200 gallons per minute and are required to meet the IICRC drying timeline.
- Never discharge extracted water into a sanitary sewer cleanout or floor drain that is already backing up.
- For concrete floors, follow extraction with a squeegee pass to push residual water toward the lowest point for vacuum pickup.